9. SOAPSonar – Performance
One of the benefits of SOAPSonar is that performance and load testing use the same automation tests developed for functional testing. You just need to switch the mode from QA to Performance on the top right. All data sources, Projects, Test Cases and Test Suites remain unchanged. This allows performance and load tests to be built into functional requirements and regression testing, without creating a new series of test cases in a separate tool.
In order to do performance and load testing, and prevent any accidental denial of service attack, we need to use a CloudPort runtime. Its free, it local and it integrates well with SOAPSonar. Its also a useful tool to have and one we will use for a number of future tutorials. So lets go ahead and download and install it.
1. Download and install the CloudPort Runtime Player. You have to accept export restrictions, but are not asked for no personal information.
2. Secondly, download the runtime, ST3PP performance and unzip it to a location you can find again. You should have 3 files. Tutorial v1 and v2 and a short csv. We use V2 in future tutorials.
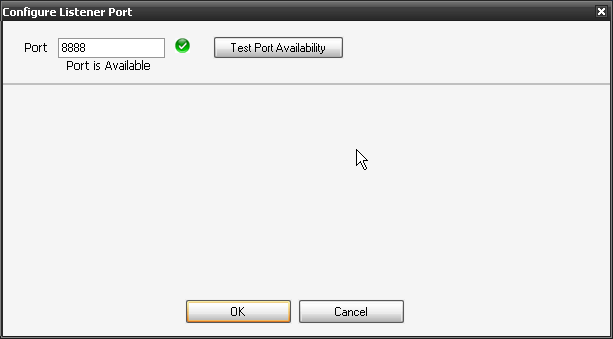
3. Launch the CloudPort Runtime Player and select run simulation, then find Tutorial v1 you downloaded and unzipped in step 2. Start Simulation Player. Accept port 8888. (good idea to Test availability)
4. You now should have a JSON Simulation running on your machine to test against. If you look under Performance Test Tutorial, next to the icon of the networked globe, you will see the URI should be http://127.0.0.1:8888/st3pp/ and the list of simulated services running, starting with soapsonar. Lets not change anything else here yet, but copy the URI http://127.0.0.1:8888/st3pp/.
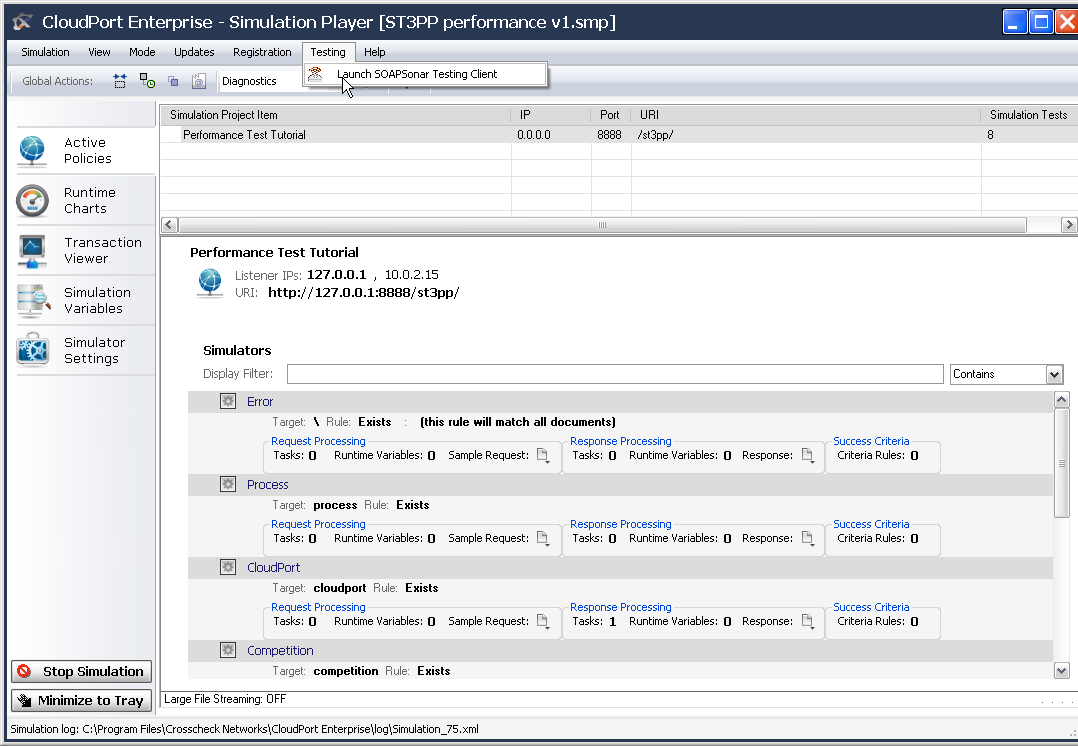
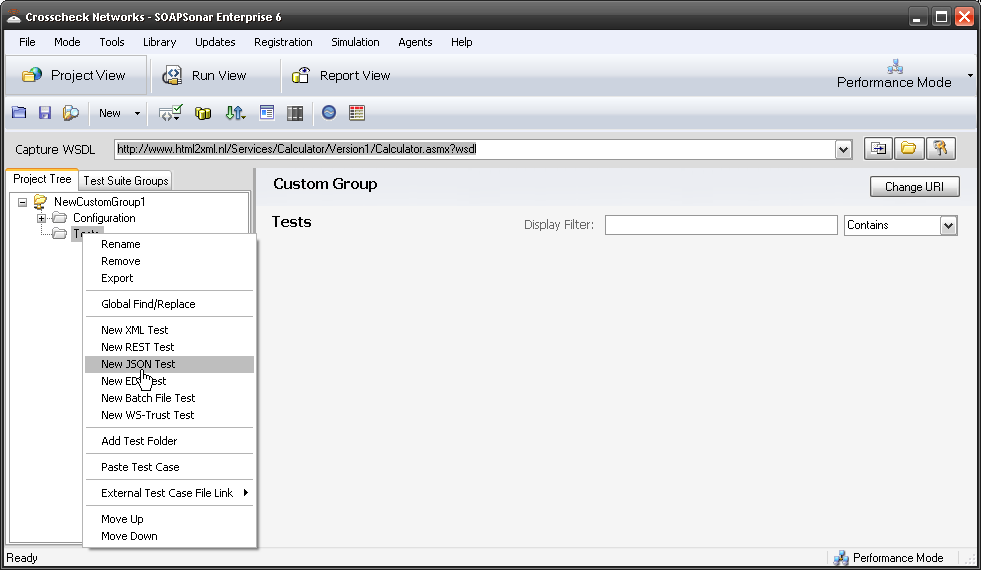
5. Leave the runtime running and launch SOAPSonar and lets create a basic JSON test case. You can do this by selecting Testing and then Launch SOAPSonar Testing Client from within CloudPort runtime or you can just run SOAPSonar as you usually do. Select File, New, Test Group then Right-click on Tests in the Project Tree and Select New JSON Test Give it a name like Performance
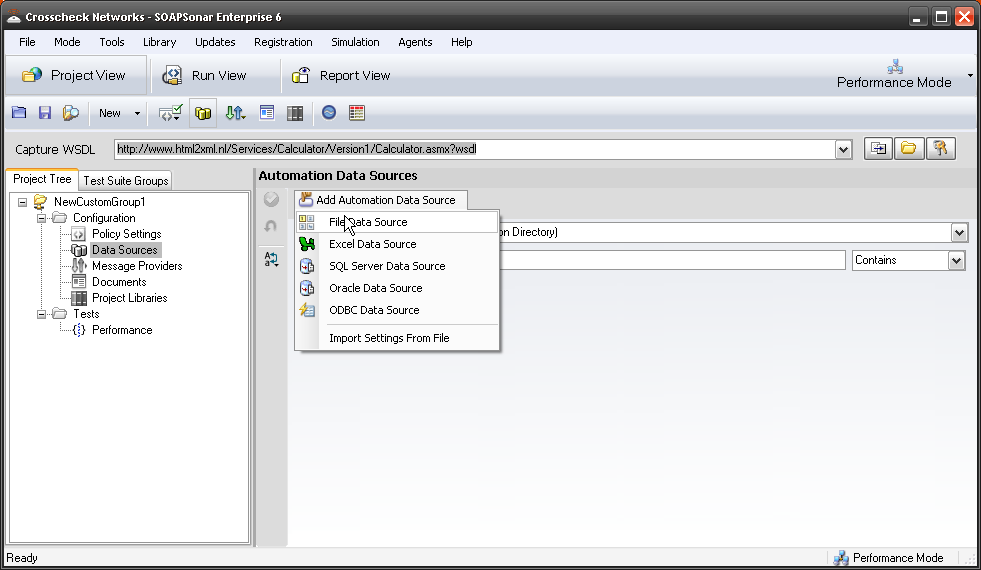
6. There is a small CSV file in the zip file you downloaded in step 2 called performance.csv. Lets add that as an [ADS]. In the project Tree under configuration, select Data Sources. Add Automation Data Source, then Select File Data Source. Give it an alias, find the performance.csv you extracted and ensure the Data Variables is on Request column, then select OK.
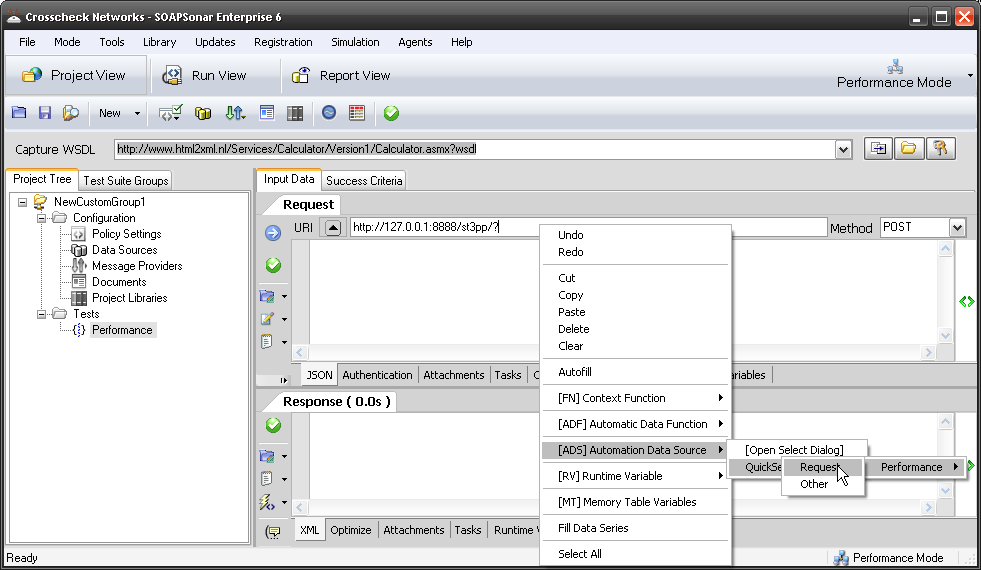
7. Back at our test case “performance“, paste the URI copied from CloudPort or http://127.0.0.1:8888/st3pp/ into the URI. Then add the query. In this case it will be ? followed by right-click and the [ADS] and our Request column. Set the method to GET (although it matters not in this runtime). Commit and Send Current Request to Server. Did you get a response that’s not a error? So far this has all being covered in earlier tutorials. your response should start with “Delivering”: “SOAPSonar”
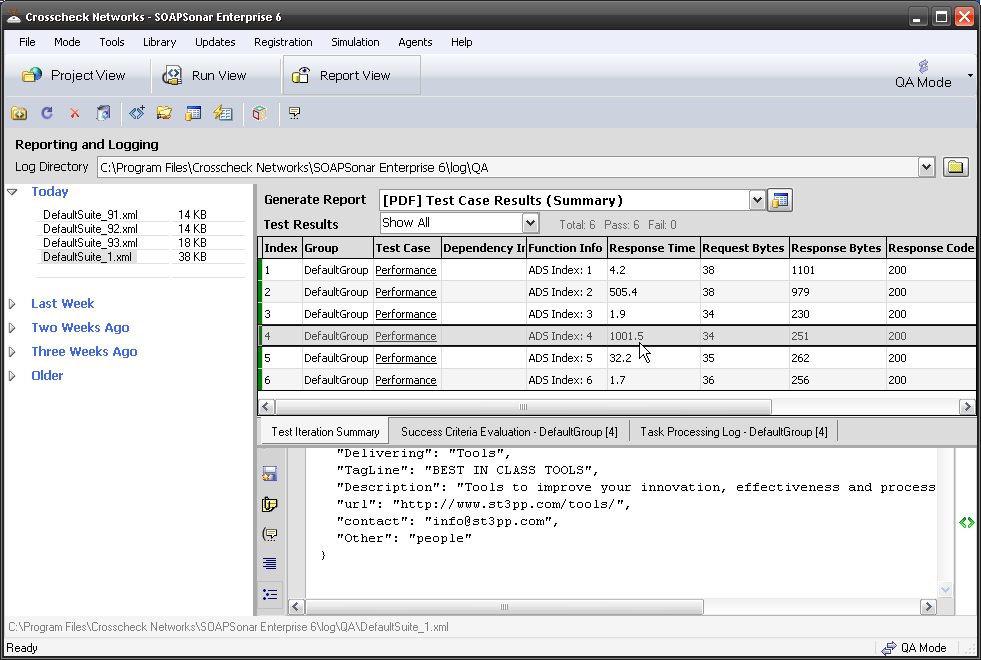
8. Select Run View and drag our test case over to the DefaultGroup. Check to make sure you right hand top corner is QA mode and Success Criteria is Test Case Success and not Regression. Then Commit and Run. All 6 Test cases from the .csv should run and pass. Did they? Select Report View, and notice that 2nd Test case CloudPort took over 500ms and the 4th test case Tools, took over 1000ms. This is because the runtime has some latency added for these two cases. These individual services, not under load perform slower. So far you have being testing functional testing. If we wanted to we could add a success criteria now and fail any service over a certain response time, now would be a good time.
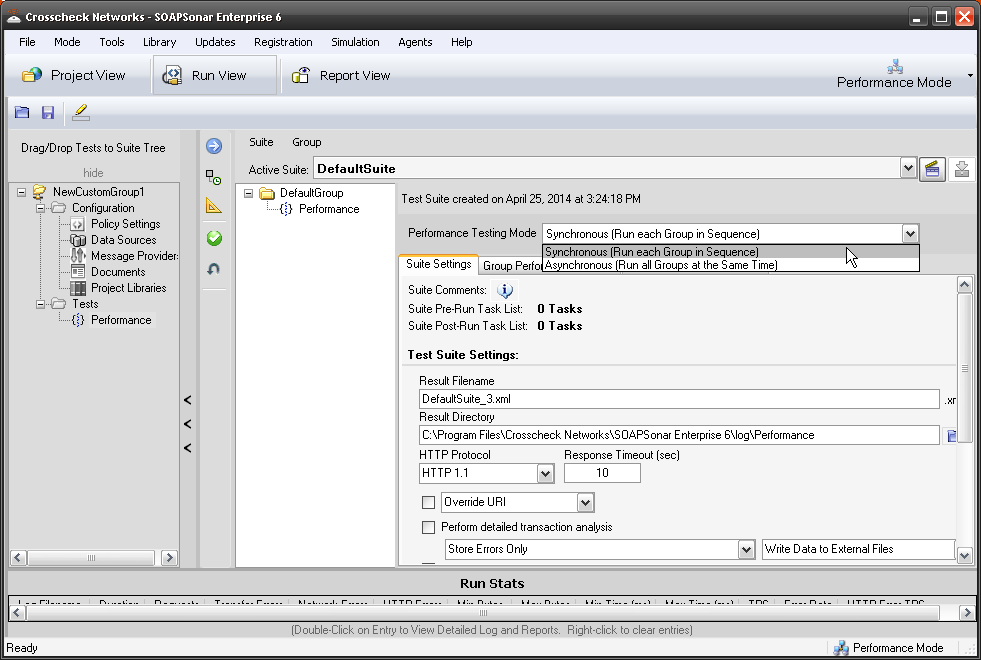
9. lets go back to Run View and Change SOAPSonar from QA Mode to Performance Mode in the right top corner. Notice that Suite Settings Changed? Now if we select Run Performance Testing in Synchronous Mode, each test group is run sequentially and each test case performance statistics are isolated and run individually. Asynchronous will run all your test groups at the same time to replicate different traffic patterns. We only have one test in one group. So lets leave it on Synchronous. Lets also leave the rest for now. Careful with logging as it can effect your machines load and hence performance.
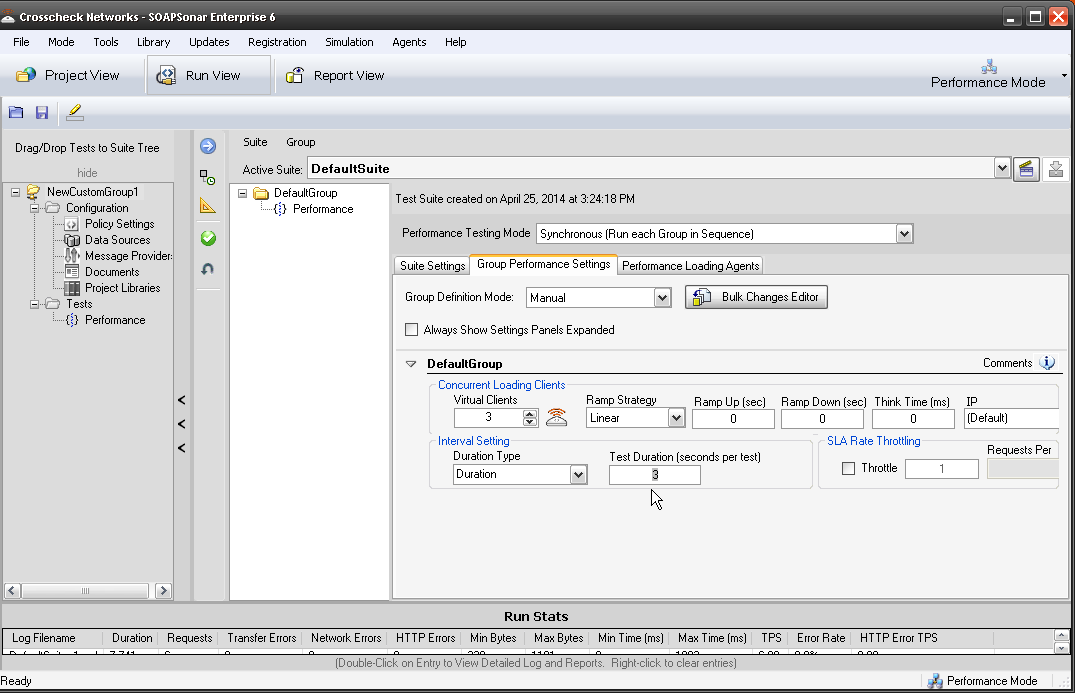
10. Select the next Tab, Group Performance Settings. Here we establish the number of Virtual Clients and the length and extent of the load. Select just 3 virtual clients and set it to Duration and 3 seconds. Leave Throttle unchecked as we see how many TPS we can hit with 3 Virtual Clients. We have made no changes to the [ADS], functional test, regression or success criteria. Commit and Send.
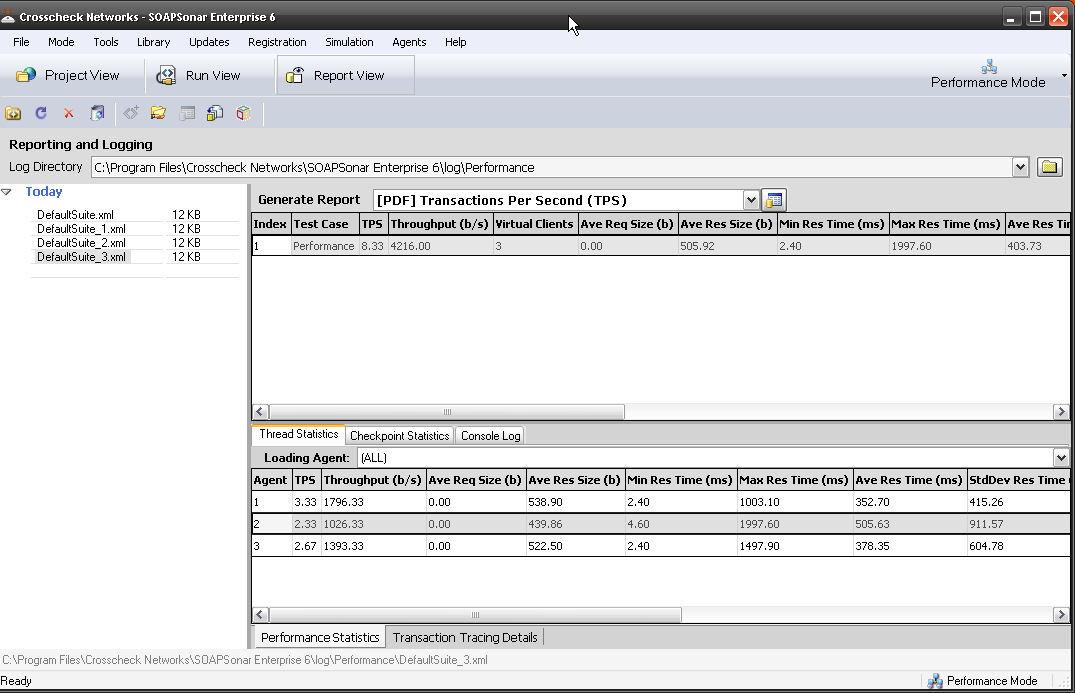
11. This time your Realtime monitor is different. In report view, you see a consolidated report, when you select that, you see a break down per virtual client. East virtual client can export a file for further processing or you can generate a report. How many TPS did you hit? We highly recommend using the 90% Res Time column as a reference, ignoring the 10% of responses that are extra long or short.
Conclusion.
Doing load and performance testing as early in the development cycle can be critical in finding the time to address any concerns. Using the same test case and simply switching to performance mode vs developing a new set of test cases in a different tool, enables far greater coverage and reduced time.
In our next tutorial we will use both virtual and physically distributed load agents in a performance and load test.
Take a minute to give me some private feedback in the form below. This will be mailed to me and not published.
[contact-form subject=’Performance Testing’][contact-field label=’Handel’ type=’name’ required=’1’/][contact-field label=’My opinion on Perfromance and Load testing is :’ type=’radio’ options=’Why would anyone do Performance or Load tesing?,We do Performance but not Load testing,We use different tools for Performance and Load testing,We use an integrated Tool for Performance and Load Testing’/][contact-field label=’We do performance testing as part of Coninous and Regression Testing’ type=’checkbox’/][contact-field label=’Comment’ type=’textarea’ required=’1’/][/contact-form]
Otherwise please post any public comments below.


