1. SOAPSonar – Installing and Getting Started
So new you new to SOAPSonar. Perhaps you joined a new team that uses it, a student, or you downloaded a trial and trying to get started. Here is a quick tutorial on the install and UI.
Installation
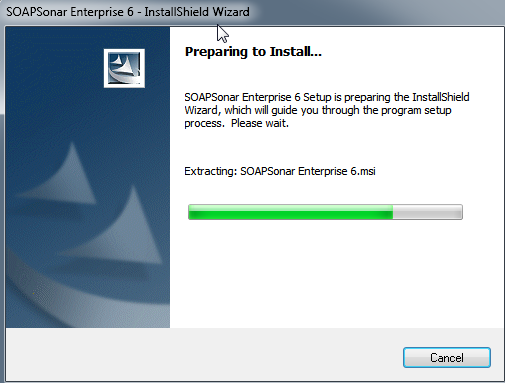
After downloading the latest version (request a no obligation 14 day trial here), install by right click and run as administrator. If you don’t install with Administrator rights, you should get warnings.
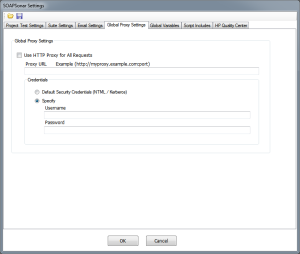
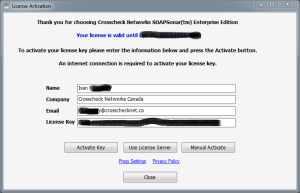
Once installed you should be presented with the registration screen. Please enter your name, company and email. If you are behind a web proxy, please first enter the proxy settings. These can be taken from your browser settings. Go, File, Settings and Preferences and select the Global Proxy Settings tab. enter your organizations proxy settings here before registering. Alternately you can select the Manual Activate button Option.
If you doing and evaluation or your company uses Instance based licensing, enter your license key then select activate key. Instance based licensing can only be loaded on one machine per license key. Note if you using Instance based pricing, the number of days still on your license is shown.
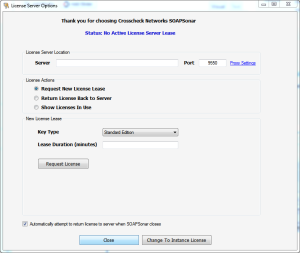
If your company uses Floating licenses centralized license server is used. The server is used to check-out or check back the license only and does not require persistent network access. Licenses server is only accessed at the time the lease is granted or released. The server is not a file server and need not be a dedicated machine, but requires a static IP address and a small windows application. SOAPSonar can then be loaded onto as many machines as you would like, but only one machine can use a licensee at a time. If you using floating licenses, select the button for Use License Server and enter the details. (or hostname) and open port. Request New License Lease and select the Key Type and how long you wish to check the license out for. Select Request License and if there is an available Floating license of the Key Type requested, SOAPSonar will activate.
The User Interface
SOAPSonar UI follows the usual windows convention
- File – File related tasks like new project, load project and save project with Settings and Preferences
- Mode – SOAPSonar 4 pillars of QA (functional), Performance, Compliance, Vulnerability (security). Note the mode can also be changed in the right corner.
- Tools – Various tools from key management to traffic capture.
- Library – List of Automated Data Sources and vulnerability definitions that can be used.
- Updates – To check for updates to the latest release. SOAPSonar does not require manual scripting. If manual scripts have not being used, upgrades should have no impact on test cases. It is highly recommended that you stay current to avoid known issues and get the new features.
- Registration – Discussed above
- Simulation – To launch a CLOUDPort generated run-time virtualized mock service to test against
- Agents – For downloading and configuring remote performance load agents.
- Help – Yes there is a help file.
Now each of the 4 pillars (QA, Performance, Compliance, Vulnerability) can be set to
- Project View – For the configuration of your Project Tree or Test Suite Groups for automating your testing.
- Run View – For running automated tests projects
- Report View – For those who actually want to see the results after a test is run.
Conclusion
You should now be ready to start testing. If you have a project and feeling ready, you can start that.
Else we are working on developing Tutorials. These will be very basic tutorials to highlight a few frequently used features that should not take more than a couple hours to complete.


