Search for:

3 Ways to Get Started with CloudPort – Using WSDL

As part 3 in this series. In the first we captured a service using CloudPort’s proxy feature, and in the second we created a service copying and pasting mostly. In this tutorial we use a SOAP service that has WSDL. SOAP services currently differ from REST based service in that they include WSDL that defines the structure and parameters if the message header and bodies. In this case, I will use the simple temperature convert SOAP service.

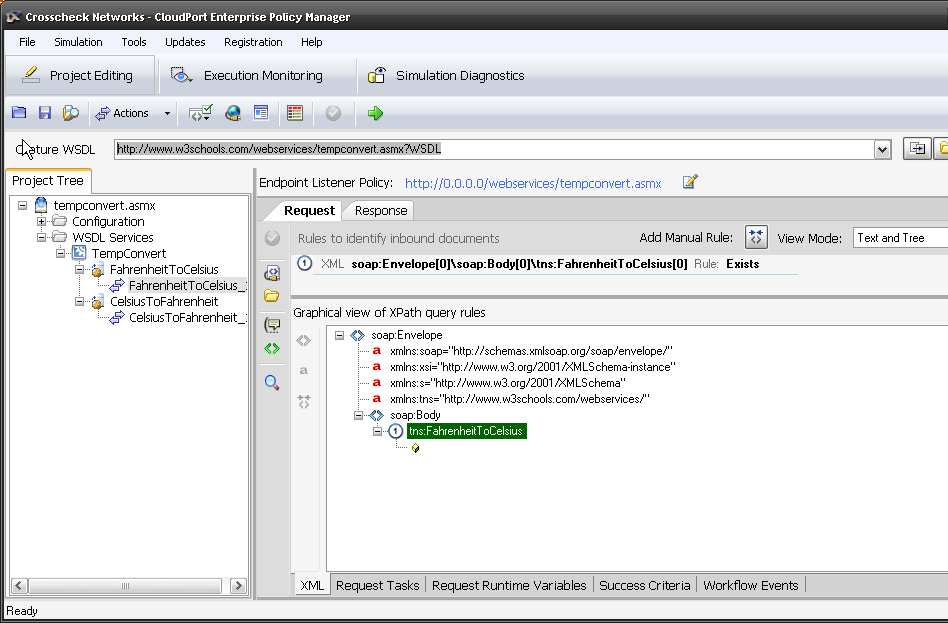
1. Start CloudPort and select Build Simulation. In the Capture WSDL bar enter the URL followed by ?wsdl or in our case paste

http://www.w3schools.com/webservices/tempconvert.asmx?WSDL

1. Capture WSDL
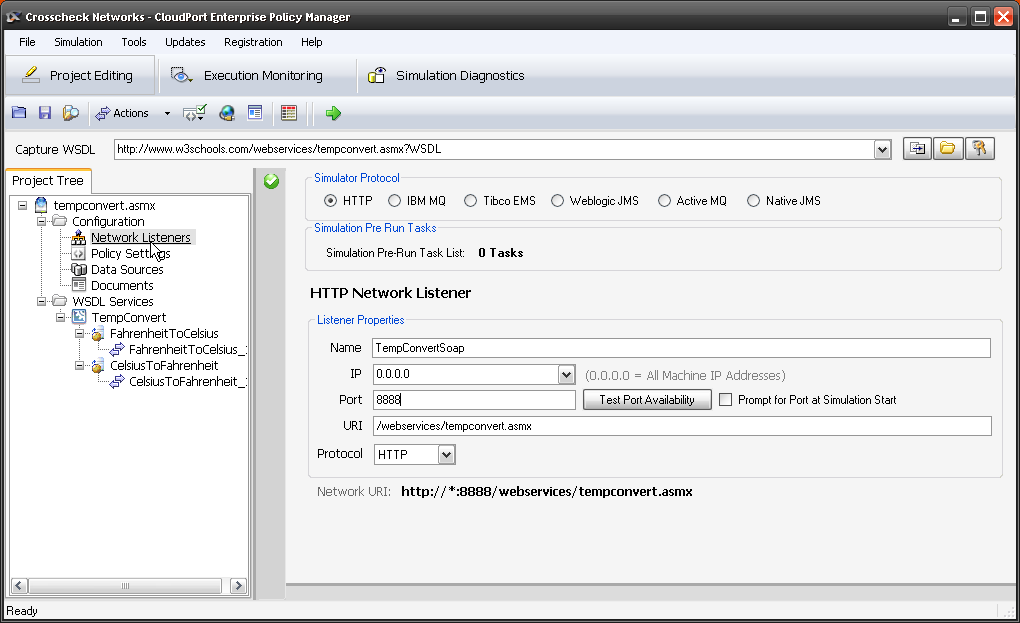
2. Change the Network Listener Policy – in my case I just changing the port to 8888 and will leave it on local machine, and commit.

2 listener

3. Now we can define any specific Request or Response values. You could build a VB script or create a random variable or any of a number of ways to match requests responses. In this case, our test coverage is 3 values.

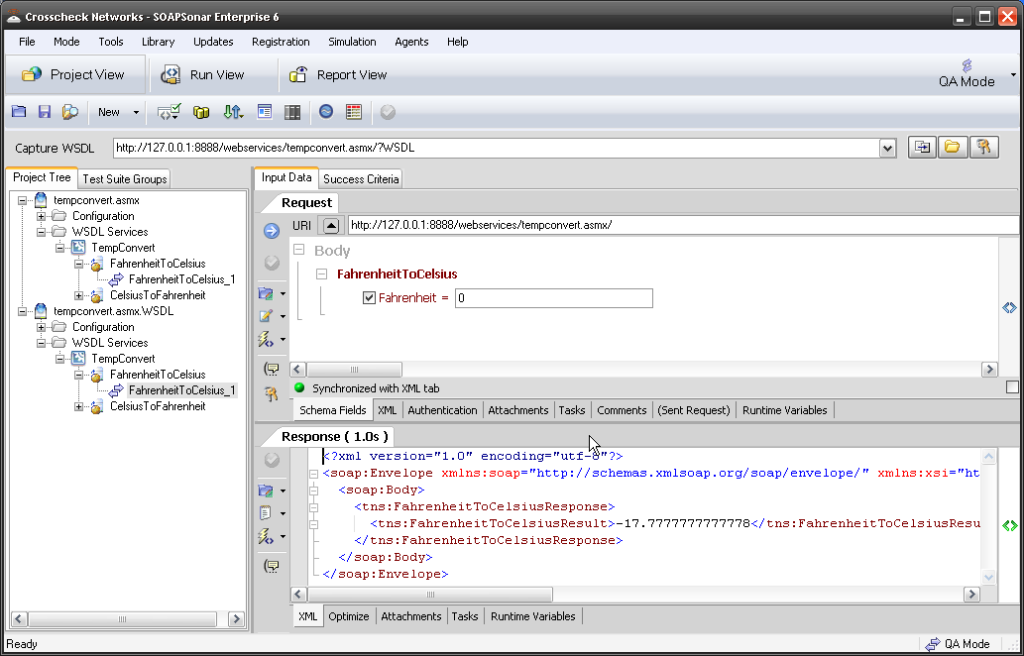
  • 0 Fahrenheit response expected -17.7777777777778
  • 72 Fahrenheit response expected 22.2222222222222
  • 100 Fahrenheit Response expected 37.7777777777778

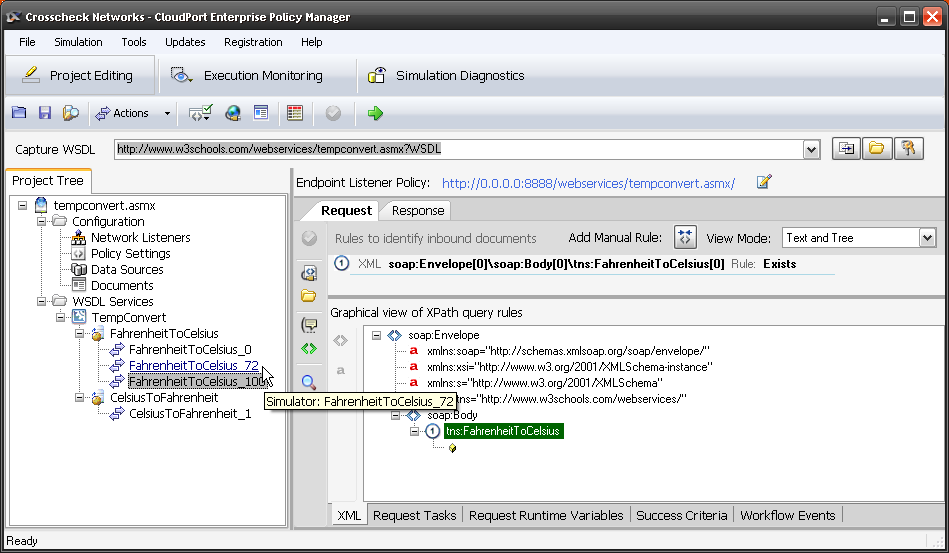
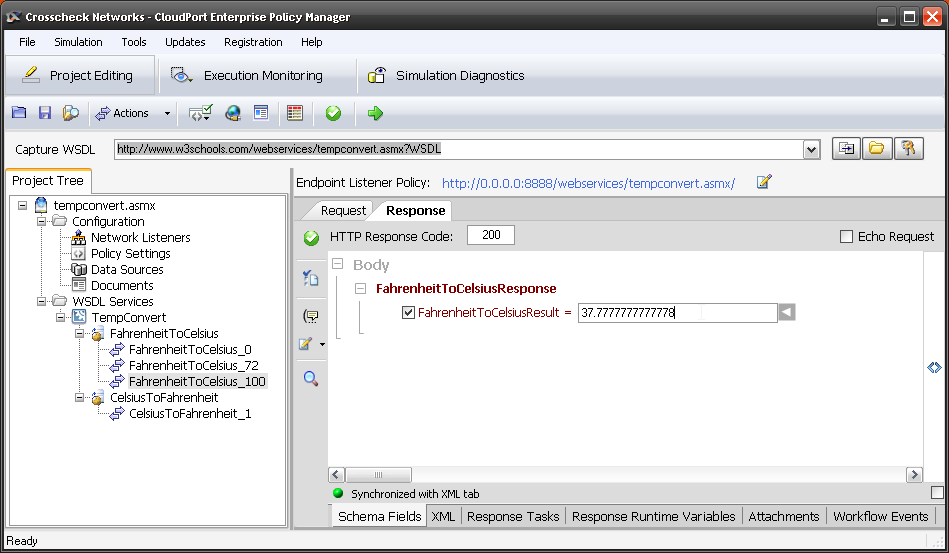
So lets start by cloning the FahrenheitToCelsius simulator 3 times and renaming it 0, 72, 100

3. Clone

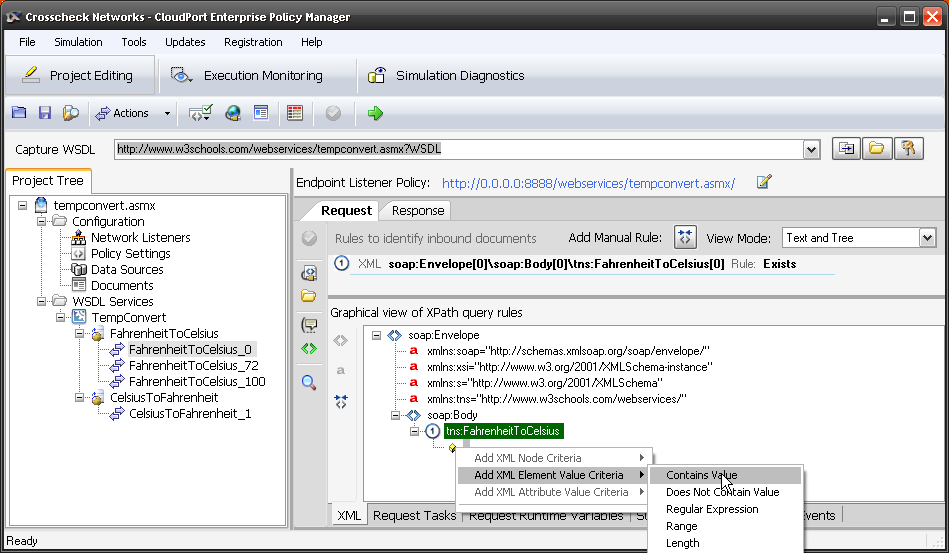
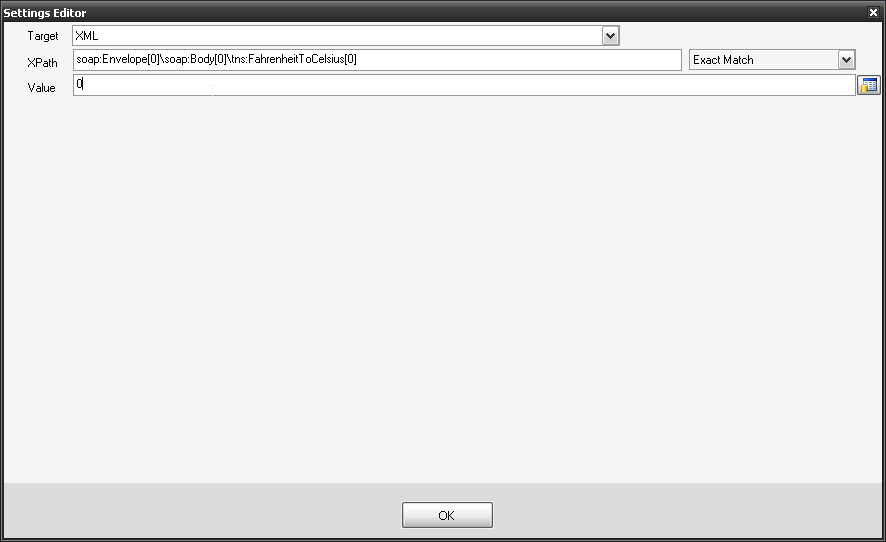
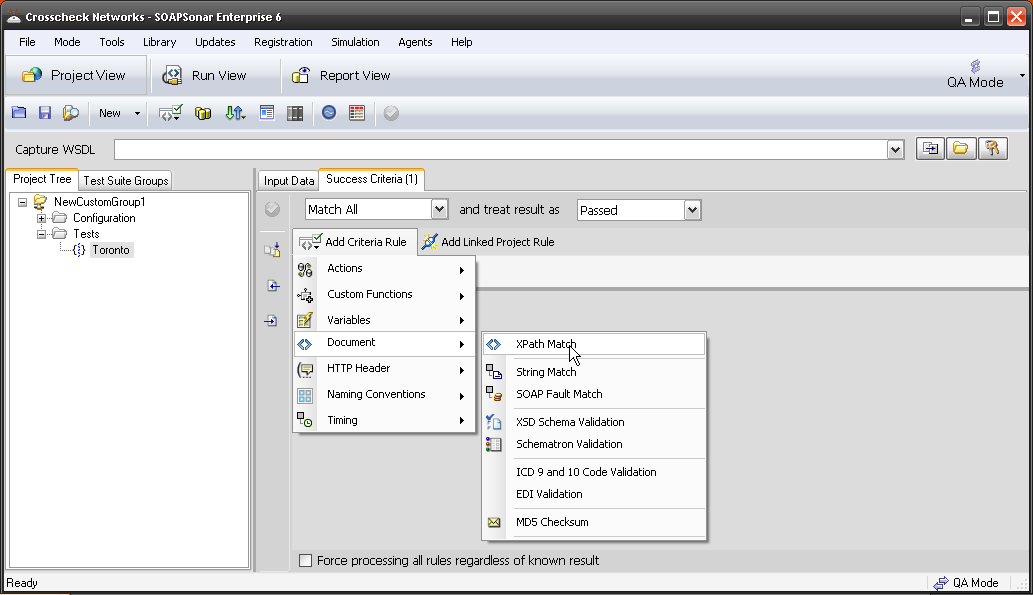
4. Now we need to change the rules for inbound documents. The default rule recognizes any value. Right click on the actual value and select Add XML Element Value Criteria, Contains Value for each of the 3 cloned services.

4. Rule 1

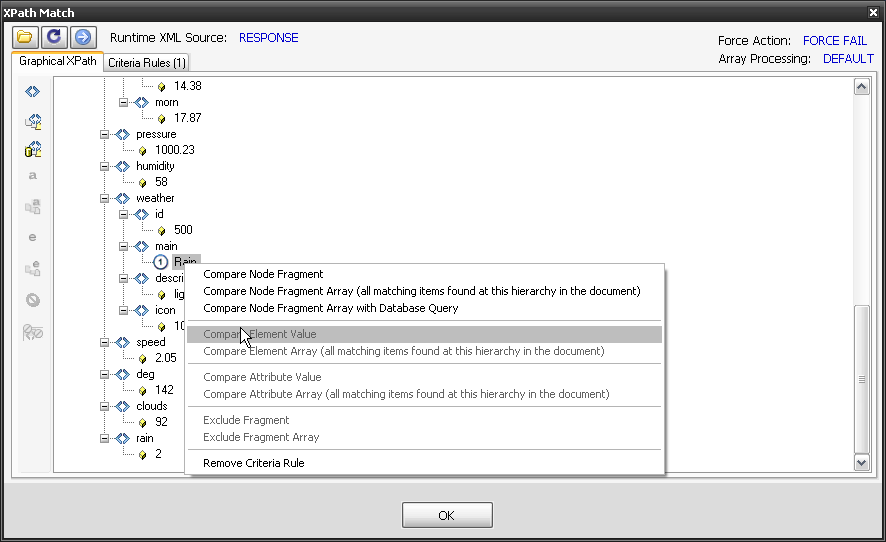
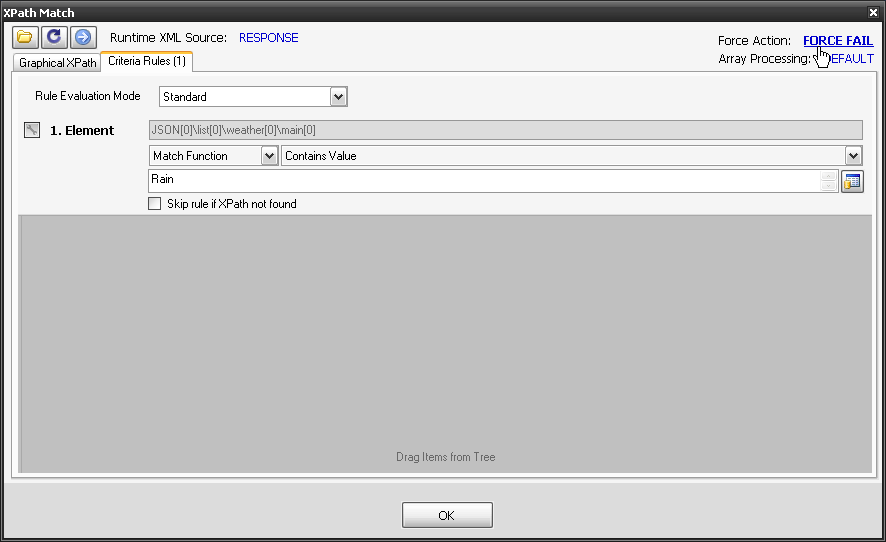
5. Now selecting the rule allows for entering the value. Enter 0, 72, 100 in each of the clones services and Exact Match.

5. Rule

6. Now Select the Response tab, and enter the desired response value for each of the 3 clones simulators.

6 Response

7. If you want to test Celsius to Fahrenheit you can repeat this process.

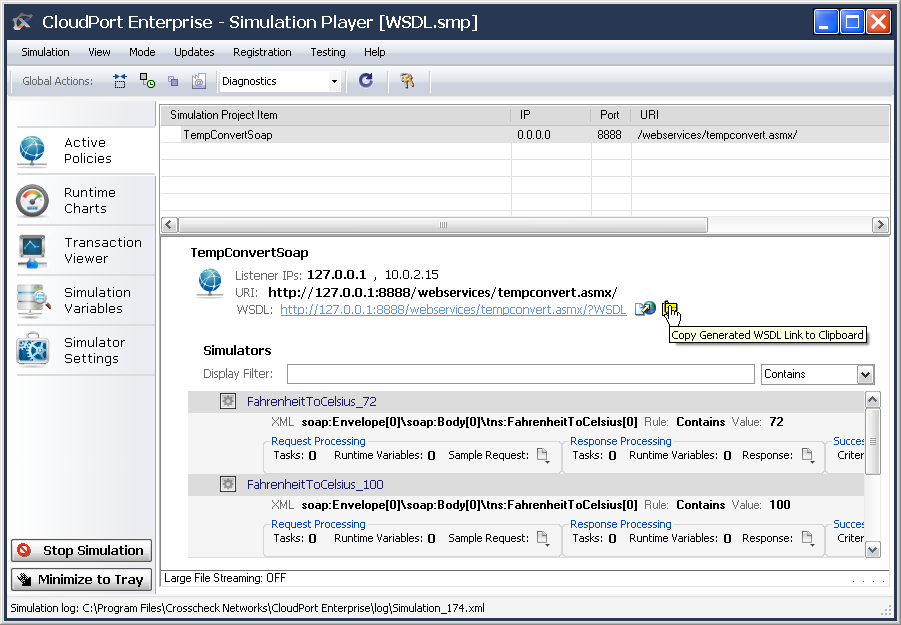
8. Now launch your created simulation by selecting the green arrow icon Start Local Simulation. The Free Simulation player will launch and show you the URI and rules available. Select Copy Generated WSDL to Link icon. This is the listener we set up in step 2.

8 copy

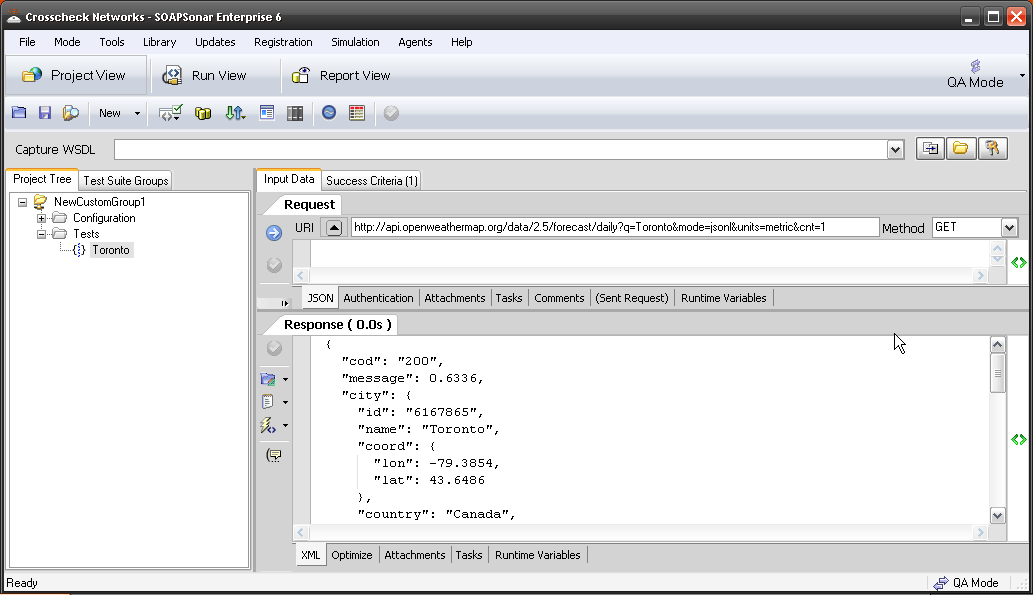
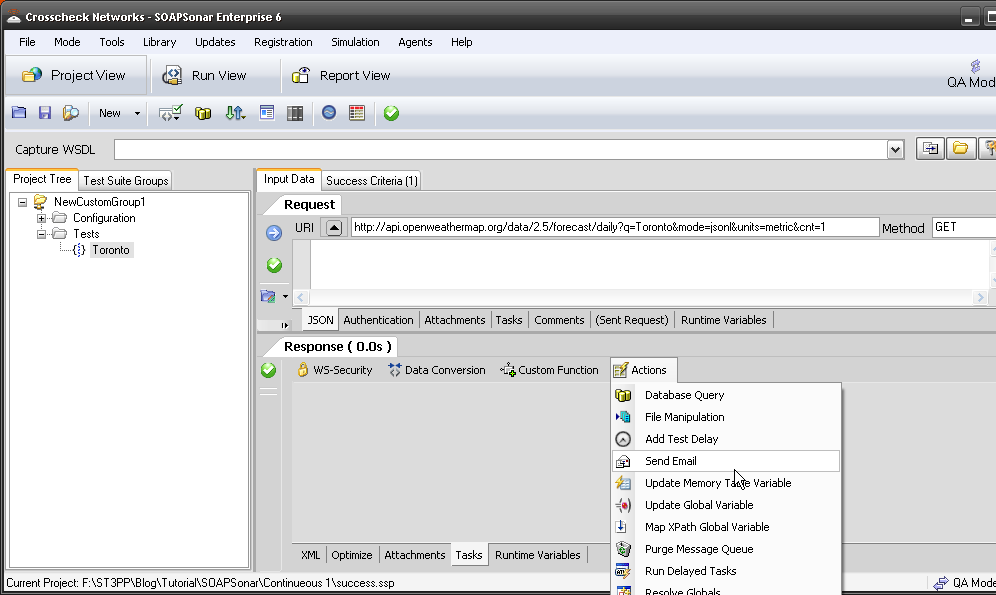
9. In SOAPSonar now, paste that WSDL link into the Capture WSDL field and the 2 services are shown in the project tree.

10. Test the 3 services listed in point 3 now. Do you get the expected response?

9 soapsonar


SOAPSonar – Continuous Testing ideas

In this example, I am going to use a success criteria to monitor a specific field value for a given response, but there are many possible ways to implement continuous testing. To have a little fun, I am going to use a JSON weather services provided by http://api.openweathermap.org. Being the weather and this being Canada, there should be a lot of change.

Lets say you only interested in knowing if Rain is in the forecast for the next day. Lets set up a success criteria first that fails the test case should there be rain in the forecast. if you not done the introductory tutorial on Success Criteria please do so first.

1. File, New, Test Group. New JSON Test and Name it.  Paste the following in the URI

http://api.openweathermap.org/data/2.5/forecast/daily?q=Toronto&mode=jsonl&units=metric&cnt=1

and Set the method to GET. Commit and Send.

1 URI

2. Now All we want to know is if there is rain in the the forecast. Select Success Criteria tab, Add Criteria Rule and XPath Match.

2. Xpath

3. Now lets edit our XPath Match rule. By selecting it, we see the Graphical XPath, Scroll down till you see weather, main and select the value, right-click and Compare Element Value.

3 Element

4. Select tab Criteria Rules. Change the Force Action to Force Fail. and Match Function term to Rain. We now have a criteria rule that will fail the test case if rain is in the forecast. Drag it over to the Run View and Send. Did it fail? is there Rain in the forecast?

4. Rain

5. Now if we automate the test case and it fails, it should mean rain. So in Run View, select Create Command Line Script. (see pointer). you need to save the file first.

5 script

6. Now Lets Generate a Report, (One Page), call it rain and Email Report to the right address. We then need to define our email SMTP settings. On the second page, fill in the details for your email server and send test email.

6 automate

7. Lastly, let schedule as a a Task using the Windows Scheduler. Fill in details and OK.  If you want, you can go into windows scheduler to edit the task further. The test case uses standard windows scheduler.  On manually running it, I get a PDF report in my mailbox as an attachment.

7 Windows Scheduler

8. Note, I could also set up a Task in the response section to send me a email with some personalized note.

8 Task

This rather silly example is to show that you can automate a test case to run as frequently as you may want, to watch for a certain value in a certain  part of the response, that you defined as a success criteria. That could well be a response time, validation code or any other parameter, and need not be rain.

Questions, or Comments?